Kale is a leafy green vegetable that is packed with nutrients and has become increasingly popular in recent years due to its health benefits. While it is traditionally grown in gardens, growing kale in pots is a great way to enjoy fresh, homegrown kale even if you don’t have a large outdoor space. This read will give an exposure of how to grow kale in pots.
With the right container, soil, and care, you can easily grow your own kale in pots on a balcony, patio, or even a sunny windowsill. In this guide, we will discuss the steps to successfully grow kale in pots, including selecting the right container, preparing the soil, planting the seeds, and caring for the plants.
Here are some steps on how to grow kale in pots;
Step 1: Select the right pot/container
Step 2: Fill the pot with rich soil
Step 3: Add a little bit of slow release fertilizer (optional)
Step 4: Sow (plant) your kale seeds
Step 5: Water your seeds in soil
Step 6: Cover the pot
Step 7: Remove the cover on germination
Step 8: Give your plant sunlight or place in a sunny location
Step 9: Water your plants regularly
Step 10: Introduce fertilizers
Step 11: Monitor for pest and diseases
Step 12: Harvest your kale leaves
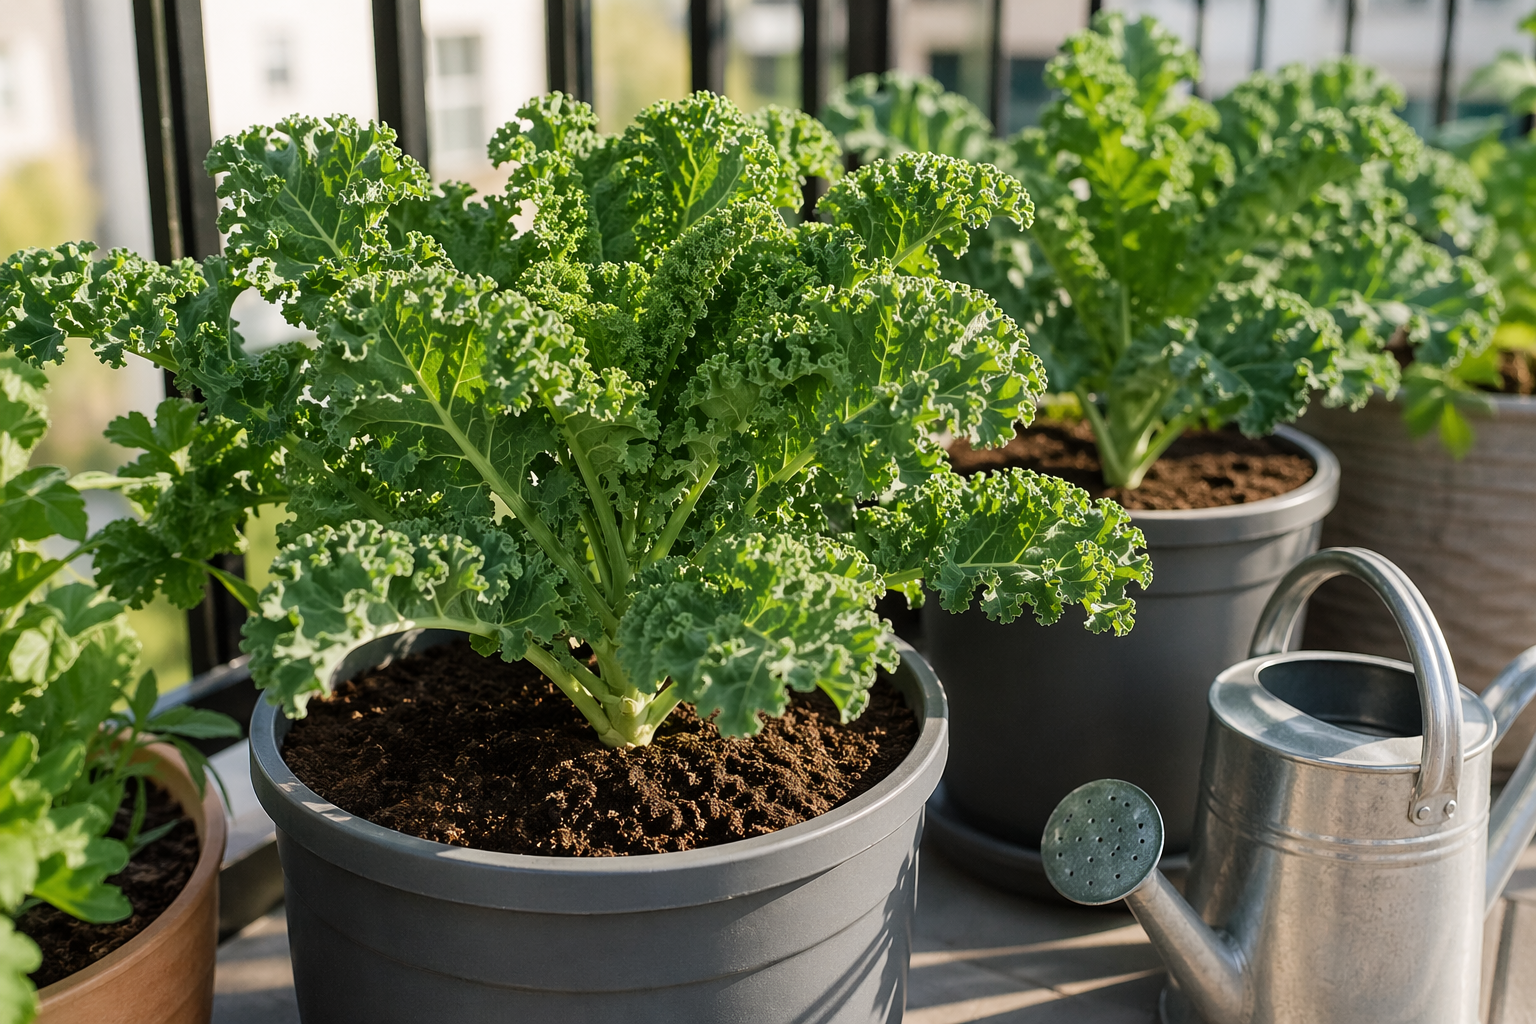
Step 1: Select the right pot/container
Choose a pot or container by selecting one that is at least 12 inches deep and wide enough to accommodate the kale plant. It should also have drainage holes to allow excess water to escape. If your pot or container do not come with drainage holes, you can simply put them yourself, at the bottom of your pot.
Step 2: Fill the pot with rich soil
Kale grow best in well drained soil containing organic matter like manure and compost. Fill the pot with soil, leaving about an inch of space at the top.
Step 3: Add a little bit of slow release fertilizer (optional)
Add a slow release fertilizer to provide nutrient to your plant. If your soil is well drained with organic matter, you might not need to add no more fertilizers as your plant can sprout very well with the soil provided.
Step 4: Sow (plant) your kale seeds
Sow the kale seeds about half an inch deep in the soil, placing them about two inches apart.
If you want to grow your kale in containers outdoors, you can start the seeds indoors in the spring, about 6 weeks before the last expected frost. Then, move the plants outside in early spring after the last frost date.
If you want to grow kale indoors, you can plant the seeds any time of the year.
Step 5: Water your seeds in soil
You have to water your soil immediately after planting cause your soil on its own might not have the required moisture for plant growth.
Step 6: Cover the pot
Cover the pot with a plastic bag or cling wrap to create a greenhouse effect, this will help the seeds to germinate faster.
Step 7: Remove the cover on germination
Once the seeds have germinated and the first set of true leaves have appeared, remove the cover. If the cover isn’t removed after germination, your plant may die due to lack of sunlight exposure.
Step 8: Give your plant sunlight or place in a sunny location
Place the pot in a sunny location, where it can receive at least six hours of sunlight per day.
If you’re growing your kale indoors, you might need to provide a grow light for your plant our place your pot in a sunny window area.
Step 9: Water your plants regularly
Water the plants regularly, making sure the soil stays moist but not waterlogged. Waterlogged soil can cause root rot and you might lose your plant.
Keep a close eye on your kale in hot weather, as container soil dries out quickly. Water when the soil surface is dry.
Step 10: Introduce fertilizers
Fertilize the plants every two to three weeks with a balanced fertilizer to provide nutrients. The tastiest of kale plants comes from fertilized soil, and when you water regularly, you tend to wash the nutrients in the soil off.
Hence it is advisable to fertilize your plant with half-strength liquid fertilizers at least every 2 weeks.
Step 11: Monitor for pest and diseases
Check your plants regularly for signs of pests or diseases and take appropriate action if necessary.
Actions include;
- Remove and discard any affected foliage.
- Clean the soil of any dropped plant debris.
- Decrease humidity.
- Water only when necessary so the soil isn’t constantly wet.
- Allow for good air circulation around the plant.
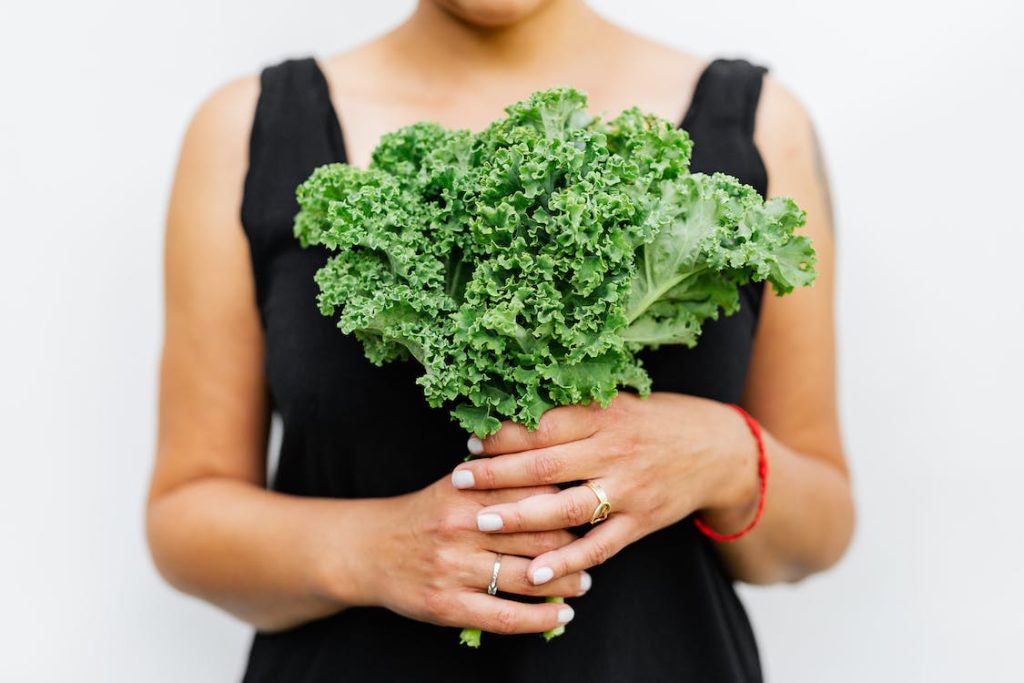
Step 12: Harvest your kale leaves
Once the kale leaves have reached a suitable size, harvest them by cutting the leaves at the base of the stem. Always harvest from the lowest, outer-most leaves toward the middle. Avoid cutting the terminal bud (in the center of the plant) and some upper leaves to encourage the plant to keep growing.
Read also: How to grow azolla
Advantages of growing kale in pots
Here are some few reasons why you should consider growing and knowing how to grow kale in pots;
- It saves space: If you have limited space in your garden or backyard, growing kale in pots can be a great option. You can place the pots on your balcony, patio, or even in a sunny window. This allows you to grow your own fresh kale, even if you live in an apartment or have a small yard.
- Convenience: Growing kale in pots is very convenient because you can move the pots around to find the best sun exposure. You can also easily move the pots inside if the weather becomes too hot or too cold, or if there is a risk of frost.
- Control: When you grow kale in pots, you have more control over the growing conditions, such as soil quality, water supply, and nutrient levels. This allows you to customize the growing environment to meet the specific needs of your plants.
- Pest control: Growing kale in pots can help reduce the risk of pests and diseases because the plants are elevated off the ground and away from other plants. You can also keep a closer eye on your plants and address any issues more quickly.
- Harvesting is better: When you grow kale in pots, you can harvest the leaves as needed. This means you can enjoy fresh kale throughout the growing season without having to harvest all the leaves at once.
Growing kale in pots is a great option for anyone who wants to enjoy fresh, homegrown kale but has limited space or wants more control over the growing environment.
Disadvantages of growing kale in pots
There are some disadvantages to growing kale in pots that you should be aware of before starting your kale-growing journey:
- Limited space for root growth: While kale can grow in pots, it does need a lot of space to grow to its full potential. In a pot, the root system of the kale plant will be restricted, which can limit the growth and size of the plant.
- Watering requirements: Kale requires consistent moisture to grow well, but overwatering can cause root rot. When growing kale in pots, it can be challenging to maintain the proper balance of moisture, and the plants may dry out or become waterlogged if not watered properly.
- Nutrient deficiency: The soil in pots can become depleted of nutrients more quickly than soil in a garden bed, so it’s essential to ensure that your kale plants are receiving the proper nutrients they need to grow and thrive.
- Problem with pest and diseases: Kale is susceptible to various pests and diseases, including aphids, whiteflies, and powdery mildew. Growing kale in pots can make it more challenging to control these pests and diseases than growing in a garden bed.
- Temperature regulation problem: Kale plants prefer cooler temperatures and can be stressed by high temperatures. Growing kale in pots can make it difficult to regulate the temperature of the soil, which can affect the growth and health of the plant.
Read more: Easiest vegetables to grow in your garden
Different kale Species
- Dwarf Siberian kale
- Tronchuda kale
- Kalettes
- Scarlet Kale
- Redbor Kale
The bottom line
In conclusion, growing kale in pots can be a convenient and rewarding way to enjoy fresh and nutritious greens at home. With proper care and attention to the needs of the plant, kale can thrive in pots and provide a bountiful harvest for salads, soups, and other dishes. Using a high-quality potting mix, providing adequate drainage, and regular watering and fertilization are essential to ensure healthy growth and productivity.
It usually takes up to 95 days for kale to be ready after planting it from seed.