Growing weed can be tricky. Growing cannabis is not as simple as throwing seeds into the ground and waiting for them to sprout. If you’re a new grower, it’s important to know all the insider tips on growing weed before diving in headfirst.
There are many different strains of cannabis, each with their own set of challenges when trying to grow weed indoors or outdoors. Even experienced growers have their struggles with certain strains, but if you have these tips from the pros you should be able to give your plants a higher chance at success.
With that said, let’s get into these top tips from expert growers and see how to grow weed at home and how you can improve your next grow!
Weed is one of the most commonly grown plants in the world, and with good reason. Producing high-quality marijuana starts with correct soil care and gardening practices, and more importantly, knowing how to grow weed.
Grow Weed from Seeds Or Plants?
On one hand, seeds have their benefits. With seeds, you get a versatile plant with several possible flowering times. You can also save money by not buying seedlings when they’re small and study which ones perform well in different conditions.
On the other hand, plants are easier to start from cuttings or reputed indoors sources because they germinate faster than seeds. Reputed indoor sources means that you have a better chance of getting consistent results – because if it’s done right, your indoor plant will look just as good as its outdoors counterpart.
NOTE: The following pointers in most parts of the world are extremely illegal. We don’t advise you to risk imprisonment by following them. For those of you living in places like Virginia in the United States or other enlightened countries or states, here is a step-by-step guide on how to grow weed at home. Those stuck in countries or states where it is illegal should proceed at their own risk.
Materials you need on how to grow weed at home
- Seeds
- Fertile soil
- Growing containers with drainage holes
- Grow light(s)
- Small table fan
- Fertilizer (nutrients)
- A green house or a small lightproof area
- Scissors
- Misting spray bottle
How to grow weed at home
- Step 1: Research your strain
- Step 2: Don’t waste money on equipment until you know what you need
- Step 3: Germinate your seed
- Step 4: Use the right soil and don’t forget to flush
- Step 5: Start planting
- Step 6: Light is everything when growing weed
- Step 7: Pick the right environment for your grow space
- Step 8: Vegetative growth
- Step 9: Transplant into a flowering container
- Step 10: Don’t forget to ventilate
- Step 11: Make flowering happen
- Step 12: Time to harvest
Step 1: Research your strain
In order to get the best out of your plant, research in very crucial. Research on the type of seed to grow, on the type of soil to be used, on the best equipment to be used. This will allow you pursue your interests and you’ll probably learn something new. It will also expand your knowledge base on how to grow weed at home, give you the latest information and also helps you know what you’re up against. It builds your credibility.
Read also: Vertical farming
Step 2: Don’t waste money on equipment until you know what you need
From a proper research, you’ll know the best seed, the best soil type, the best growing containers and lights to acquire. Just so you know, the best is actually more expensive most of the times.
Step 3: Germinate your seed
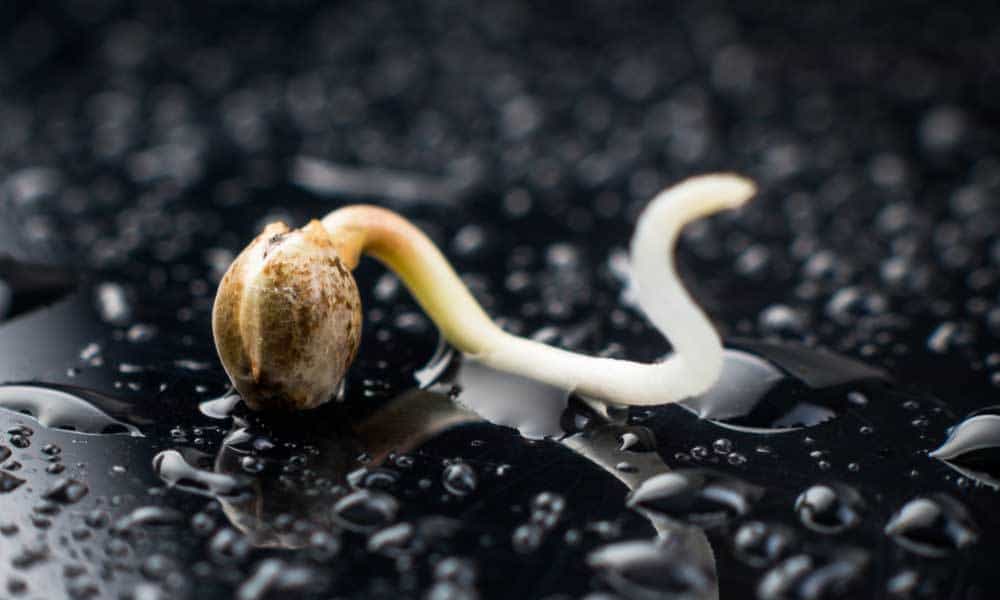
So you’ve got your seed from your homeboy or from wherever, you want to ensure that your seed is viable before you plant it, so you want to germinate it. The first step is to take a Ziploc bag with a damp paper towel and fold your seed in it, keeping it slightly warm.
Think of the top of your cable box or refrigerator when you’re putting it somewhere slightly warm. After one to three days, you should see it sprouting if it’s viable. If not sprouting within five days, you should find another seed.
Please note that it is difficult to tell whether your plant is male or female until the flowers emerge. Having more than one seed guarantees that you will have at least one female plant. Pollen is produced by male plants to fertilize other plants, and it doesn’t produce flowers which is produces by females, which is what you want. Small hairs will appear at the nodes of a female plant.
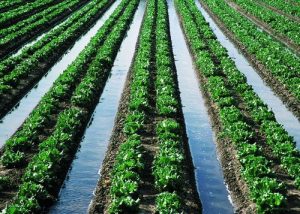
Step 4: Use the right soil and don’t forget to flush

Loam is by far the best soil mix for growing marijuana plants. Loam is a mixture of clay, sand, and silt, bringing forth the best qualities of these disparate types of soil while minimizing their worst attributes.
The optimal ratio for loam is 20% clay, 40% silt and 40% sand. Most folks think a pH of 6.0 is best for cannabis, with a range of 5.8 to 6.3 being acceptable. With a pH close to neutral, loam is typically in that zone or close to it.
When a marijuana plant has absorbed all of its nutrients, you flush it out by giving it pure water. This purges the plant of accumulated nutrients. A flush is done about a week or two just before a plant is harvested to ensure that it is free of impurities. A nutrient lockout is a condition in which your plants have absorbed all of their nutrients and can no longer absorb any more. To eliminate excess nutrients, you can flush your plant.
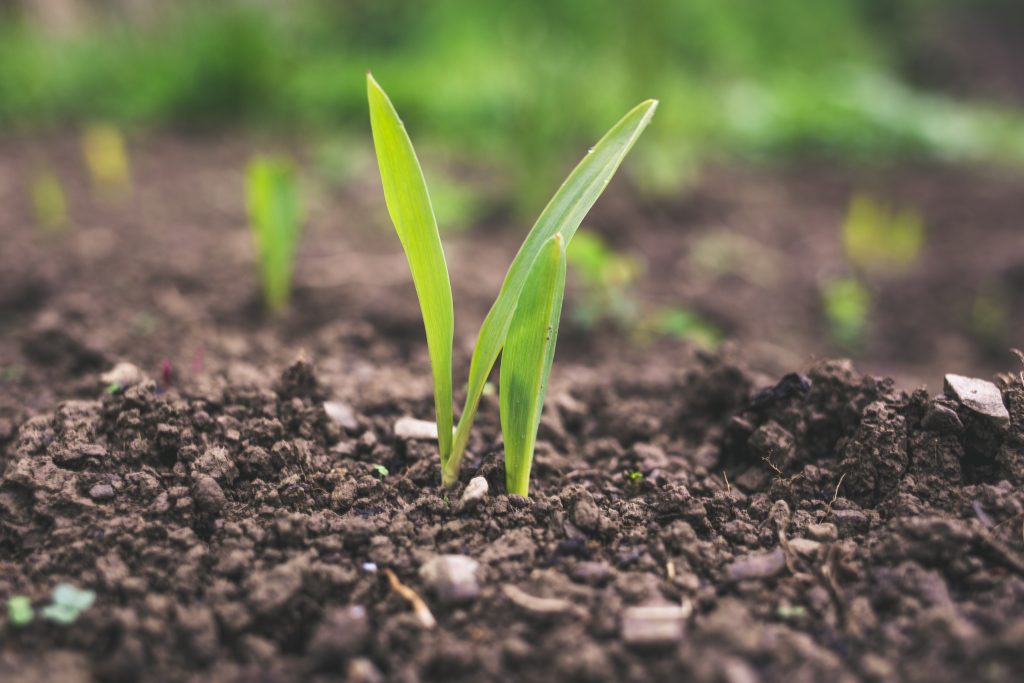
Step 5: Start planting (how to grow weed at home)
The easiest and most frequently applied container is a plastic Dixie cup with drainage holes punctured in the bottom. You should use a standard potting soil mixture in a container with drainage holes. Plant your seed about 1 inch deep in the soil, with the exposed tail pointing downwards.
Then, lightly mist the top of the container with clean water, and put it in a spot where it will receive direct or indirect light (sunlight or grow light is fine here). After two to three days, the first set of baby leaves will emerge from the soil.
Note that using a misting spray bottle to apply water to baby plants during the first few weeks of its life is a better option than pouring water directly on top. Because it has a young root system, the seedling may ‘float’ after the first few watering.
Step 6: Light is everything when growing weed
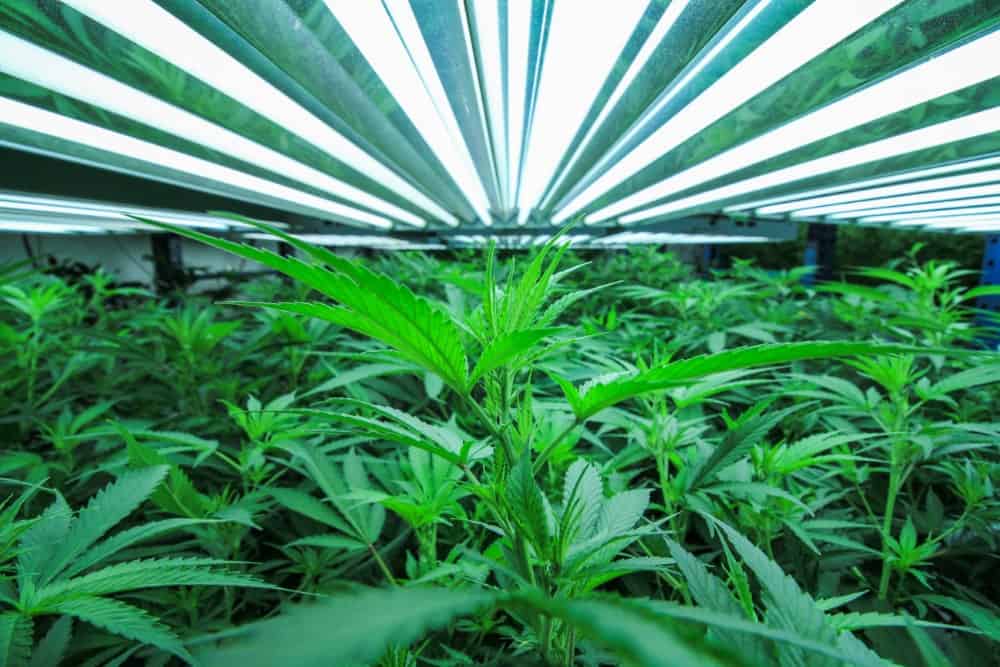
When selecting the appropriate type of lighting, there are many choices to think about, and indoor growers frequently get too caught up in the subject. LEDs are a fantastic choice for the beginner indoor grower as they provide a wide range of lighting options.
With so many choices for indoor lighting, I find using inexpensive LEDs to be a terrific option. LEDs can be utilized for a wide range of phases of plant growth. LEDs emit a great quality of light with a small initial investment and often produce less heat than traditional indoor plant lighting, such as high pressure sodium (HPS), metal halide (MH), or good old fluorescents (FL or CFL).
Try to avoid blurple colored lights because it can be difficult to see the real colors of your plant when using purplish colored lights, and they tend to be cheaper. Working under natural looking lights helps you see the real color of the leaves.
Read also: The biggest farms in the world
Step 7: Pick the right environment for your grow space
Just like people, plants do their best in a particular temperature range. Generally, pot plants in their vegetative stage prefer a temperature in a range from about 68 to about 77 degrees Fahrenheit. When they are flowering, cannabis plants like a range of about 65 to 85 degrees Fahrenheit. They can live in lower and higher temperature, but since you can control the heat simply indoors, why not give them what they want for maximum growth and potency?
If you need to increase the temperature, you can use a variety of traditional heating options, including electric, gas and other sorts of heaters typically used in homes or commercial buildings. Heat lamps and insulation are other possibilities, while heat mats underneath containers can warm the soil. In larger spaces, a fan can help circulate warm air so all plants can benefit from it equally.
In addition to high summer temps outside, grow lights themselves can cause excessive heat. If you are battling high heat, look for lights that emit less heat. In addition, you can use fans or portable air conditioners to cool your grow room to the proper temperature.
Also consider humidity. Depending on the stage of growth, pot plants generally like relative humidity from 40% to 70%. Conditions that are too humid can lead to disease, molds and fungus. Extremely dry conditions can retard the growth of your pot plants.
Step 8: Vegetative growth
The length of time before your new plant flowers is determined by how much longer you must grow it and how much more you must let it develop to create those beautiful flowers you want. It all depends on the amount of space and the amount of lighting you are using.
A good rule of thumb is to have 75 watts of lighting for every square foot of gardening area. Let your plants grow (or veg) for at least three weeks, but you may leave them growing as long as you like, as long as the grow light is turned on for at least 18 hours a day but as long as 24 hours if you prefer.
Add no fertilizers or amendments, as there already is enough of what your plant needs already mixed in with the soil.
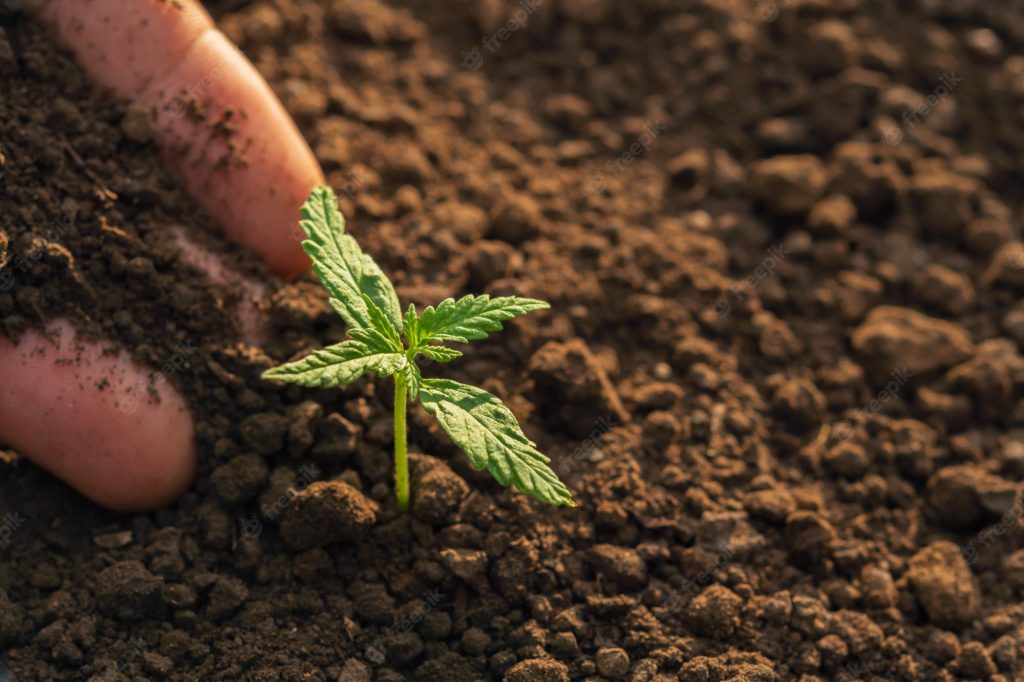
Step 9: Transplant into a flowering container
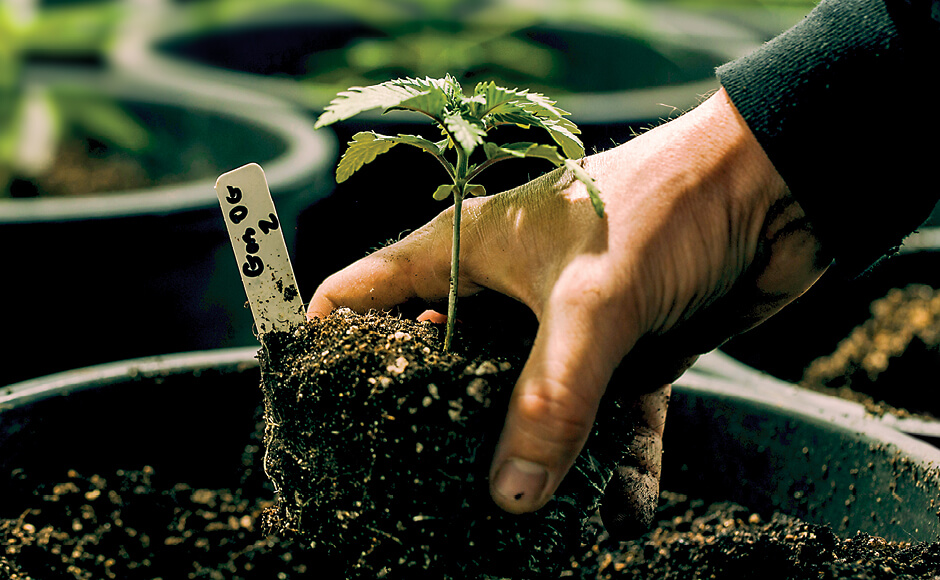
The next step is to put the plant in its permanent home, where it will live for the rest of its brief existence. This is a highly personalized process, but you must utilize a container that holds one gallon of soil per foot of plant development. Before you move the plant, add a quarter cup of granulated bloom fertilizer to the soil. NPK (5-10-10) is a common ratio of nitrogen, phosphorus and potassium.
Using a slow-release granular fertilizer makes for easy growing for the rest of the plant’s life. Because of its slow release action the plant is fed every time you water it, ensuring that it has all the nutrients it needs for the rest of its life cycle and taking away that lack of surety: “Did I give it too much or too little?”
Please note to be gentle when transplanting into larger containers. The roots are often delicate and can be damaged easily. If using a Dixie cup, squeeze the side of the cup until the plant becomes loose and gently flip the plant into your other hand while making sure to support its root mass.
Step 10: Don’t forget to ventilate
Cannabis need lots of fresh air, so the C02 levels are optimized at all times and the old stale air is refreshed.
Especially if you use HID lamps, it’s impossible to get the temps down if you don’t have a vent and an intake of fresh air. Best temps is around 20C, but cannabis CAN tolerate temps up to over 30C, but it’s not optimal inside.
If you are using LED systems, you can get by with a little vent system, but fresh air is imperative for best results.
Step 11: Make flowering happen
Since cannabis is a photosensitive plant you really want to compel it to flower, which is its normal sign to start imitating by giving it equivalent seasons of light and continuous dim periods. This is where you frequently know about the 12/12 cycle: 12 hours of light and 12 hours of haziness.
The last resting spot until the end of your vegetation’s should be a region where it can get continuous dull time.
The exemplary region is regularly a little storage room or develop tent in the event that you can bear the cost of the speculation. You simply need a straightforward 24-hour machine clock and set it for 12 hours on and 12 hours off.
Ensure your flowering region is in some place that can get continuous light cycles. Interfering with the light cycle can make your plants “herm,” meaning they will make dust sacs on your female plants that will then fertilize your female plant and produce seeds. Not the most terrible thing can occur however when a plant produces seeds, the nature of your blossoms will be reduced.
Step 12: Time to harvest
For the following eight to nine weeks, simply permit nature to do its thing. You just have to water your plant with typical regular water at whatever point the best 3 or 4 crawls of soil are dry and ensure you’re moving your develop light up as it develops. You need to hold your light 12 to 24 creeps from the tallest mark of your plant to guarantee that the tops aren’t getting too warm, an issue known as “light burn.”
Flowers starts to form at week three of this stage and most get done with eight or nine weeks of filling in the 12/12 light cycle. You realize your plant is prepared when the bigger leaves have begun to become yellow and when 75% of the pistols have become red or brown on the flowers (otherwise called buds).
Read also: Monocropping
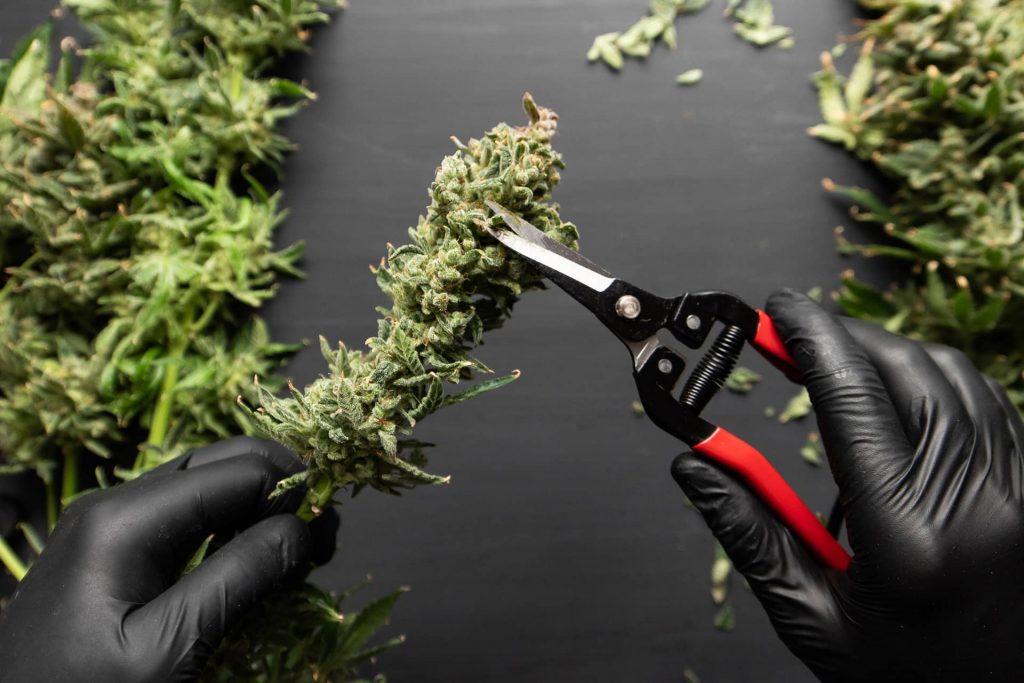
After all these weeks of waiting and watering, the day is finally here. It’s harvest time! After the eighth or ninth week your baby is ready to be chopped.
Simply cut your plant and hang it upside down in a cool dark area. You can use the same place you grew it in — just turn the light off. After letting the plant dry for about seven to 10 days you’ll want to manicure it. You do this by trimming off all the remaining leaves and trimming around your bud sites removing any leaves that are not connected to bud sites and any smaller leaves that don’t look “frosty.” At this stage you’re done.
For the smoothest and most quality smoke, you need to cure your flowers basically by placing them in an impermeable holder (airtight container) and “burping” them a few times per day. This is done is to permit the chlorophyll to separate inside the leaves and flowers, uncovering its flavor and keeping you from having buds that taste lush or new. This step is additionally exceptionally customized, however the vast majority do curing for no less than 10 days, or up to 90 days — it simply relies upon which flavor profile you’re looking. This ends it on how to grow weed at home.
The bottom line
This is how to grow weed at home. All 12 tips on how to grow weed at home are for a healthy grow and for those who are in nations and cities where growing cannabis is legalized. Otherwise, do your growth at your own risk. Have a happy growing season